
Why Is One Helmet Cheek Pad Looser Than the Other?

Why Is One Helmet Cheek Pad Looser Than the Other?
One cheek pad can feel looser because the pads are different parts or thicknesses, one plate or snap is not seated, one side compressed differently, or your face is naturally asymmetric. Start with part identity and installation off-head. If both pads are correct and secure but the shell still shifts or one side has almost no contact, get a model-specific fitting assessment instead of stacking foam.
Do not diagnose one loose cheek by ordering a thicker single pad first. Confirm the left and right identifiers, helmet model and size pairing, every plate channel and snap, full drying after washing, and whether an accessory is pushing the opposite side inward. Then wear the fully assembled helmet for 30–45 minutes and assess shell stability, crown contact, cheek movement, and pressure. Genuine alternate pads can refine a suitable fit only where the manufacturer approves the combination.
NHTSA’s motorcycle helmet fit guidance says a correctly sized helmet provides even crown pressure, should not move when the head shakes, and should feel tight in the cheeks; it also limits interior adjustment to manufacturer-provided liners and cheek pads. The SHOEI NXR2/RF-1400 official manual supplies one model-specific example of left/right cheek pads, plates, three snaps, and approved optional pad choices. Mad Shark facts come from its current CYRIL product page. Do not transfer SHOEI part combinations to another helmet.
Separate Hardware Asymmetry From Human Asymmetry
Faces are not perfectly mirrored. A jaw, dental work, glasses arm, hairstyle, or habitual side can change how equal pads feel. That alone does not justify altering the helmet, and natural asymmetry should be considered only after part identity, installation, and full-shell stability are verified. A cheek with almost no contact is not acceptable merely because faces differ.
Remove the helmet and compare the printed or molded identifiers without taking more parts out than the manual permits. Check that left and right belong to the same model family and approved pairing. Look at edge height, visible plate position, snap count, fabric roll, and whether a speaker or wire sits under one pad.
Do not compare softness by squeezing alone. One pad may sit over a bracket, recess, emergency-release feature, or speaker pocket that changes hand feel. Installation and on-head stability matter more than equal desk compression.
A Cause Table Before You Buy Parts
| Finding | Likely Category | Next Check |
|---|---|---|
| One identifier or thickness code differs | Mixed or intentionally different parts | Ask whether that exact pair is approved |
| A plate edge is visible or one snap is open | Incomplete installation | Restart the exact plate-before-snap sequence |
| Difference began after washing | Damp foam, rolled cover, or reassembly issue | Dry fully and reinstall from the diagram |
| Headset is installed on the tighter side | Accessory pressure or trapped wire | Remove the unit and inspect approved routing |
| Both parts match and are secure | Facial asymmetry, wear, or base-fit issue | Evaluate full helmet stability with a fitter |
| Pad body or fixed mount is damaged | Part or helmet-side failure | Stop using it and request genuine parts/service |
Check Installation in the Maker’s Order
- Photograph both sides installed. Use the same angle and lighting before touching the pads.
- Confirm removal is owner-permitted. Do not pull an emergency-release tab during normal maintenance unless the manual instructs it.
- Compare identifiers. Record left/right, model, and pad code; do not infer thickness by color or feel.
- Inspect plates and fasteners. Look for cracks, stress whitening, torn fabric, a missed channel, or a snap that will not hold.
- Reinstall through the exact sequence. On the reviewed SHOEI example, plate features enter specified front and rear brackets before three snaps are fastened.
- Trace the perimeter. Keep the strap through its intended opening and all wire, shield, vent, and emergency features unobstructed.
- Repeat on the opposite side. Follow its left/right orientation rather than mirroring by intuition.
Then Test the Complete Helmet, Not Each Pad in Isolation
Fasten the helmet and wear it indoors for 30–45 minutes, matching NHTSA’s pressure-point check where return policy allows. The crown should sit fully down with even contact. Turn the shell gently; the cheeks should move with it rather than letting one side slide freely. Look straight ahead and confirm the eye port remains level.
Record whether the difference is pressure, contact, movement, or a hard hotspot. “The right side feels softer” is less useful than “the right cheek loses contact when I open my mouth, and the shell rotates toward that side.” Stop for pain, numbness, vision shift, or a shell that moves independently.
A thicker genuine cheek pad may improve lower-face contact in an approved configuration, but it cannot correct a crown that floats, a shell that does not sit down, or the wrong internal head shape. If crown and cheek conclusions conflict, fit the helmet as a complete system.
Washing and Wear Can Make the Difference Look Larger
One pad may hold more moisture, dry against a different surface, or have its cover shifted over the foam. Follow the maker’s wash and shade-dry method, keep plastic plates unbent, and wait until both are dry through their full thickness. Do not use a dryer or direct heat to make one side “match.”
Long-term compression can also be uneven if the rider routinely carries the helmet with pressure on one cheek, stores gloves inside one side, or repeatedly pulls one pad during removal. That observation can guide replacement; it does not prove the protective liner is damaged. If the EPS, shell, strap anchor, or fixed pad base looks abnormal, request inspection.
Three Different One-Sided Problems
Ravi notices the left pad folds away during removal. The rear snap was never engaged after washing. He reinstalls the plate and all documented snaps before judging thickness.
Camila calls the right pad “tighter,” but the speaker sits outside its pocket. With the headset removed, cheek contact is similar. She fixes routing rather than buying one thinner pad.
Evan’s face is naturally fuller on one side. Both pads match and the complete helmet stays stable. He asks a trained fitter whether approved pad tuning is useful instead of chasing perfect sensation symmetry.
When to Replace a Pad—and When to Stop
Ask for a genuine replacement when a pad is torn, permanently misshapen, unable to retain its plate or snap, contaminated beyond the maker’s care method, or measurably compressed relative to its correct mate. Confirm whether pads must be replaced as a pair and which code is approved for the exact helmet.
Stop using the helmet if a fixed mount is broken, required pad will not stay installed, EPS is cut or deformed, the strap route is obstructed, or the complete helmet is unstable. Do not glue a snap, pack universal foam behind a pad, or place hook-and-loop adhesive on protective foam.
How This Applies to Mad Shark
The Mad Shark page lists a removable washable liner, making correct removal, drying, and reinstallation part of ownership. It does not publish alternate cheek-pad combinations on the reviewed page. If one Mad Shark side feels different after the hardware check, ask CYRIL to verify the exact pad identity, approved pairing, and replacement route before altering the fit.
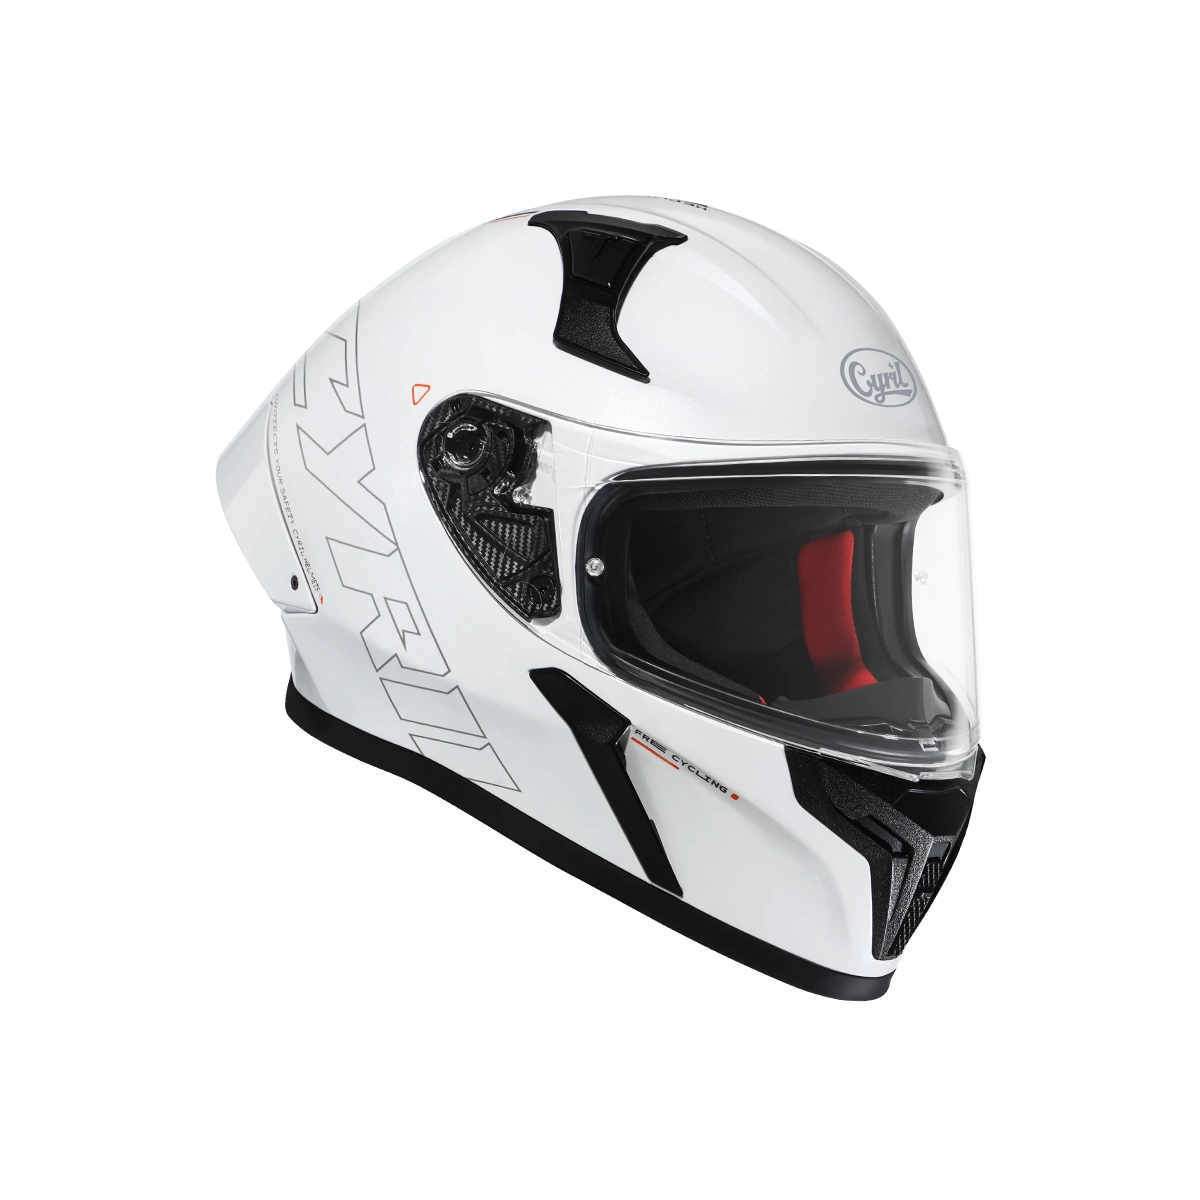
Mad Shark Full Face Helmet
A full-face option with removable washable lining that should be dry, fully attached, and evaluated as a complete fit.
View current Mad Shark detailsUneven Cheek-Pad Questions
Is it normal for one cheek pad to feel slightly different?
Faces are asymmetric, but first confirm matching correct parts and complete installation. Judge stability, contact, and pressure in the fully assembled helmet.
Can I add foam behind the loose cheek pad?
No universal foam should be assumed safe. Use only manufacturer-approved pad combinations and attachment methods for the exact model.
Should cheek pads be replaced as a pair?
Ask the helmet maker. Pairing rules vary, and mixing wear, codes, or thicknesses without approval can create a new asymmetry.
Why did one side change after washing?
It may still be damp, have a rolled cover, missed snap, or plate outside its bracket. Dry both fully and repeat the exact installation.
Can a headset make one cheek pad feel tighter?
Yes. A misplaced speaker or trapped wire can add local pressure or prevent seating. Remove the accessory and verify the approved pocket and route.
Can a thicker cheek pad fix a helmet that moves?
It may refine approved lower-face contact, but it cannot correct a floating crown, wrong head shape, or shell that does not sit properly.
How do I describe the problem to support?
Provide model and pad codes, equal-angle photos, recent care or accessory work, failed fasteners, and whether the complete shell rotates or loses contact.
When should I stop using the helmet?
Stop for a broken fixed mount, pad that will not stay attached, EPS damage, obstructed strap, severe hotspot, vision shift, or unstable complete fit.
Final Notes
One looser cheek is a question to diagnose, not a cue to add material. Verify the parts and every attachment, remove accessory interference, dry both pads fully, and then test the entire helmet for crown contact and shell stability. Use only genuine approved tuning options after the base fit is sound.