
Why Does My Helmet Liner Shift When I Take the Helmet Off?

Why Does My Helmet Liner Shift When I Take the Helmet Off?
A little fabric drag during removal can be harmless, but a cheek pad, center pad, or trim edge that lifts out of position is not something to tuck back blindly. Remove the helmet slowly, find which documented liner part moved, and check every snap, plate, channel, and left-right orientation shown in the exact manual before wearing it again.
Liner shift most often becomes noticeable after washing, pad replacement, headset installation, or a hurried removal that pulls on the cheek area. Distinguish flexible cover fabric briefly folding from a complete pad assembly detaching, a plastic plate leaving its channel, or a snap that will not stay engaged. Reinstall only the parts the maker identifies as owner-removable. Do not ride with required pads absent, and do not glue snaps, add universal foam, cut EPS, or trap wiring under a pad.
The official SHOEI Neotec 3 manual documents left/right cheek pads, plates, brackets, snaps, required interior parts, washing, and drying for that model. HJC’s official helmet-cleaning guidance supports regular care of removable pads and the use of helmet-specific parts without shell or liner modification. Mad Shark facts come from the current CYRIL product page. Installation details are not interchangeable across these helmets.
First Decide What Actually Moved
Soft fabric can brush the ears and fold briefly as a close-fitting helmet comes off. If it immediately lies flat, every attachment stays seated, and the pad body does not lift, that is different from a loose liner. A problem is more likely when you hear a snap release, see a hard mounting plate, find a pad hanging by one point, or can move the assembly away from its intended seat.
Check the helmet off your head under bright light. Compare the left and right cheek areas, the brow, rear center-pad edge, chinstrap covers, and any removable ear pads. Do not use one side as a perfect template if the manual assigns different left/right parts; verify the markings and diagram.
Why the Shift Often Appears After Maintenance
| Timing | Likely Check | Do Not Do |
|---|---|---|
| Immediately after washing | Confirm every part is completely dry and each fastener was reconnected | Use heat to rush drying or install damp pads |
| After cheek-pad replacement | Verify model, size pairing, left/right marking, plate channels, and snaps | Force a plate that does not align |
| After headset fitting | Check approved speaker pocket and wire route under the manual | Trap a cable across a fastener or cut EPS |
| Only during removal | Slow the removal and identify whether an ear catches one soft edge | Pull the helmet off by a liner piece |
| Without recent maintenance | Inspect for a broken snap, cracked plate, stretched fabric, or missing part | Glue the damaged attachment |
A Model-Specific Reinstallation Check
- Identify the exact part. Use the exploded view or liner chapter to separate center pad, cheek pad, chinstrap cover, ear pad, neck roll, and decorative trim.
- Confirm owner removal is allowed. A piece that looks detachable is not automatically an owner-service part. Stop if the manual does not show it.
- Read left/right and size markings. Do not swap cheek pads or mix parts from a visually similar model.
- Engage plates and channels first where instructed. On the Neotec 3 example, the cheek-pad plates and notches must enter their specified brackets before its snaps are fastened.
- Press close to each snap. Support the mounting area rather than pulling across the pad. Listen and feel for each individual engagement.
- Trace the entire edge. Confirm no fabric rolls into a visor, sun-visor, chin-bar, strap, or ventilation path.
- Test indoors. Put the helmet on and remove it slowly twice. Stop if a part releases again, exposes a hard point, or changes strap position.
Cleaning Can Preserve the Liner Only If Reassembly Is Complete
Wash only the pieces the maker labels removable and follow its water temperature, detergent, machine-bag, and hand-wash rules. Brand instructions differ. SHOEI’s reviewed manual calls for shade drying and warns against a clothes dryer for its interior parts. HJC’s guidance also emphasizes air drying. A pad can feel dry on the surface while moisture remains in thicker foam, so allow time before installation.
Clean fixed EPS with only the approved method—usually far less moisture and friction than textile pads. Do not soak the shell interior, use fuel or harsh solvent, or scrape adhesive areas. A fresh-smelling liner is not a successful service if its plate is outside a channel or a snap no longer holds.
Photograph the interior before first removal. That image can preserve wire routing, edge overlap, and part orientation, but the manual remains authoritative. A photo of an incorrect previous installation should not perpetuate the error.
Do Not Use Loose Attachments to Solve a Tight Fit
A cheek pad that releases during removal can make the helmet seem easier to take off, but that is not fit adjustment. Likewise, installing a thinner universal pad, leaving out an ear piece required by the manual, or failing to engage a rear snap changes the intended interior assembly without establishing correct fit.
If the complete, correctly installed liner creates severe pressure, confirm that the helmet shape and size are suitable and ask about genuine approved pad options. If an older liner has become noticeably thin or the helmet moves more than it used to, ask whether model-specific replacement pads are available. Do not compensate by stacking adhesive foam on the EPS.
What Three Riders Might Find
Mina hears a click when removing the helmet after its first wash. The rear cheek-pad snap was missed during reassembly. She follows the exact sequence and supports the snap area. Two indoor cycles are a screening check, not proof that a damaged fastener is sound.
Dev sees a narrow plastic edge beside his cheek after fitting speakers. He removes the accessory, checks the manual’s plate route, and does not ride until the original pad installs completely without trapping wire.
Avery’s center pad releases again immediately even though orientation is correct. Rather than gluing it, Avery records the failed point and requests a genuine replacement or inspection.
When the Liner Needs Parts or Professional Inspection
Stop using the helmet when a required pad cannot be secured, a plate or snap is cracked, a fixed mount pulls away, EPS is cut or visibly damaged, a hard edge contacts the head, or an installed part interferes with controls. Also escalate repeated release after a correct installation; repetition is evidence, not a reason to press harder.
Give support the model, market label, helmet and pad identifiers, which attachment releases, what work preceded it, and clear photos with the liner undisturbed. Ask whether the part is replaceable, which genuine part matches, and whether the fixed mount itself needs inspection.
How This Applies to Mad Shark
The current Mad Shark page lists a removable washable liner. That supports routine owner care, not improvisation around missing fasteners or protective foam. Use CYRIL’s instructions for the exact liner removal and installation sequence, dry every part fully, and request model-specific support if the assembly will not remain seated.
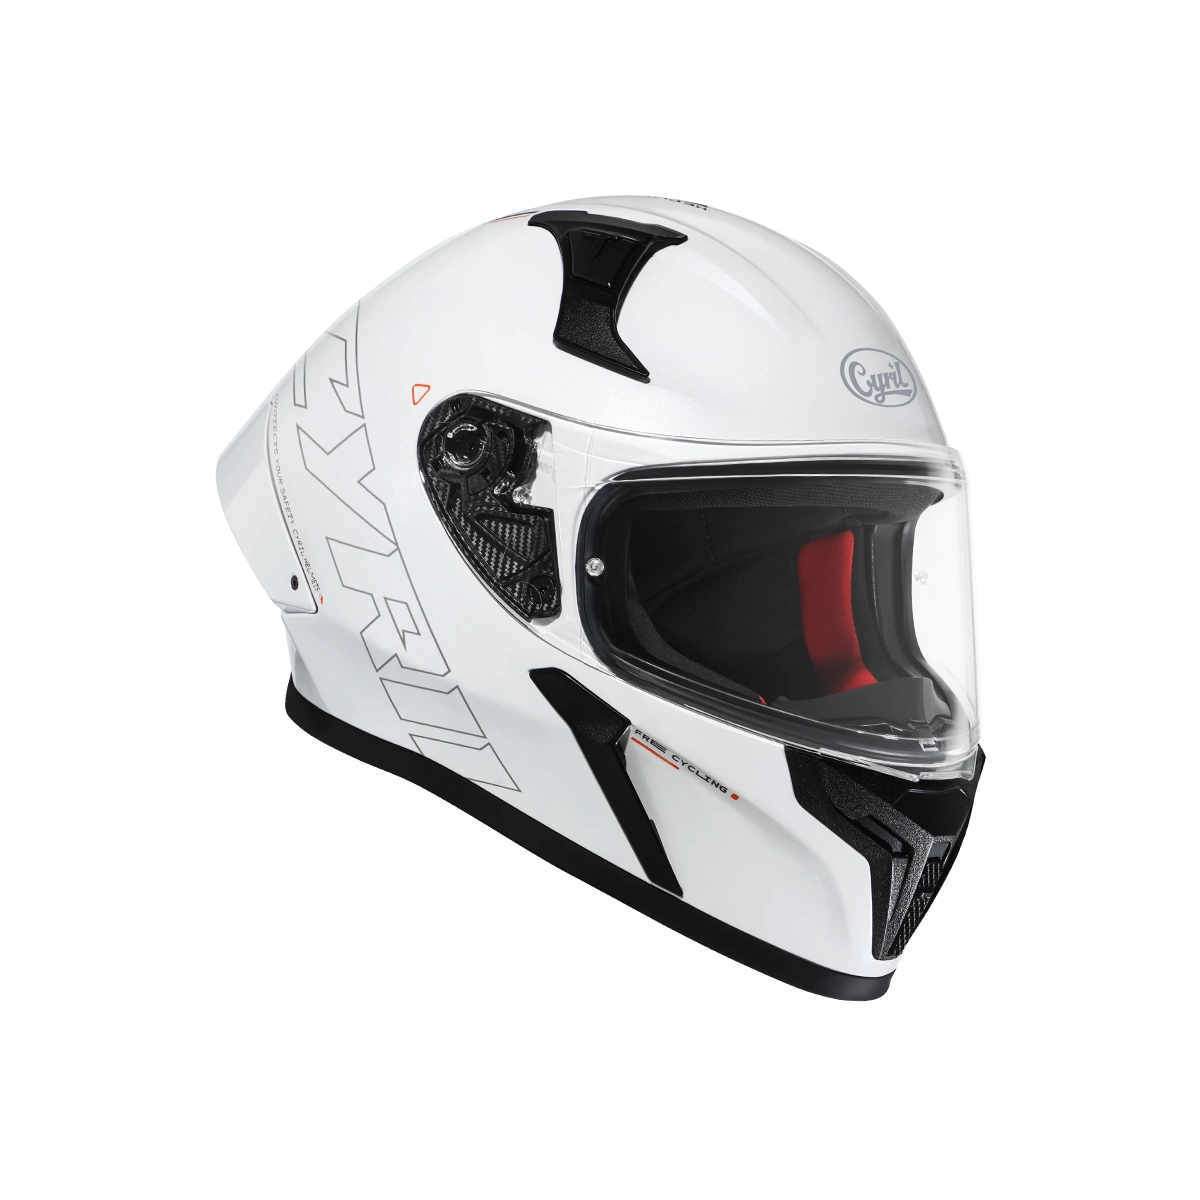
Mad Shark Full Face Helmet
A full-face option with a removable washable liner that should be fully dried and reinstalled through the correct model-specific attachment sequence.
View current Mad Shark detailsHelmet Liner Questions
Is some fabric movement normal when I remove a helmet?
Brief folding can occur, but the pad assembly should remain attached and return flat. A released snap, exposed plate, or hanging pad needs inspection.
Can I ride if one cheek-pad snap is loose?
No. Install every required part and attachment as the exact manual specifies. If the snap will not hold, request the correct part or service.
Can I glue a broken liner fastener?
No. Adhesive can affect materials and hides a failed attachment. Ask for a genuine model-specific replacement and inspection of the fixed mount.
Why did the liner shift after washing?
A missed fastener, reversed part, plate outside its channel, rolled edge, or damp pad may be involved. Repeat the documented reassembly from the beginning.
Can headset wires make a cheek pad come loose?
Poor routing can obstruct a plate or fastener. Use approved pockets and paths, never cut EPS, and confirm the pad installs fully without trapping wire.
Should I install the liner while it is slightly damp?
No. Follow the maker’s drying instructions and wait until all layers are fully dry before reassembly and wear.
Can universal pads replace the original helmet liner?
Do not assume they can. Use only parts approved for the exact model and size pairing, with the documented attachment system.
When should a shifting liner go to support?
Escalate any broken or missing part, failed fixed mount, exposed hard edge, EPS damage, control interference, or repeated release after correct installation.
Final Notes
Do not judge a liner by whether you can push it back into place once. Identify the part, verify that it is owner-removable, follow its left/right and plate-before-snap sequence, inspect every edge, and repeat a slow indoor don-and-remove check. If one attachment will not stay engaged, the next step is the correct part or support—not glue, extra foam, or a missing pad.